Demo Articles
Typography Overview
- Detalles
- Categoría de nivel principal o raíz: Contenidos
There are now 2 methods in which to implement the typography into your Joomla content:-
- HTML Mode: This is the typical approach seen in pre-2009 templates, were you had to physically add the HTML to your content in order for it to work. This can be a strenuous task for two main reasons. The first being the WYSIWYG editor of Joomla, which, more often than not would strip out the HTML from your content if you opened any formatted article with it. The second being the ability of the user, if you are using purely to the WYSIWYG editor, using the HTML mode or no editor at all can be a difficult step to reach.
- RokCandy Mode: The all new component from RocketTheme which allows you to implement typography easily, without fear of the WYSIWYG editor ruining your formatting and allows you, and/or your clients to add them to your content with ease. This is through a method similar to BBcode (as seen in a forum). WYSIWYG friendly syntax can be used, or even custom configured that will transform a set snippet to the correct HTML when it is parsed by Joomla.
Why use RokCandy?
RokCandy is the ideal solution for those with limited coding skills or those who implement our templates for their clients. It is free from the WYSIWYG editors horrific filtering habits and can be easily pre-configured for your personal needs or the needs of your client.If you are apt with HTML, and are not implementing a site for someone who has limited coding skills, then the HTML method would be our recommended choice. [readon url="index.php?option=com_content&view=article&id=53&Itemid=60"]RokCandy Typography[/readon]
Module Variations
- Detalles
- Categoría de nivel principal o raíz: Contenidos
Refraction is accompanied by 5 module variants, these are hilite1, hilite2, hilite3, hilite4 and hilite5. They are only activated in the Left, Right, User7, User8 and User9 positions. Each hilite uses a different graphic from the template for maximum performance and still provide diversity in your content.
If you were to add and/or use a suffix, follow these instructions. To apply a suffix, login into the administrator and navigate to Extensions > Module Manager. There, select your module and locate the Module Class Suffix input field. Insert your module class suffix in this box and save.
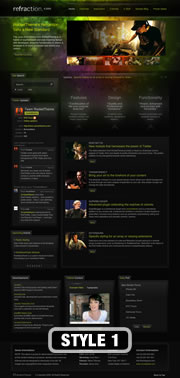
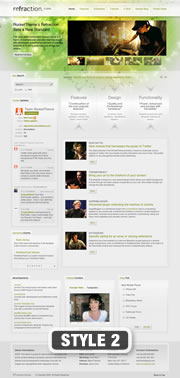
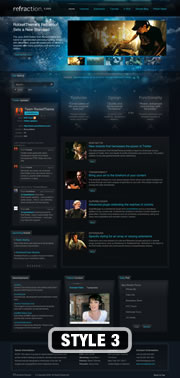
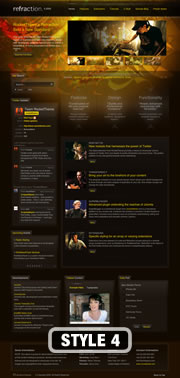
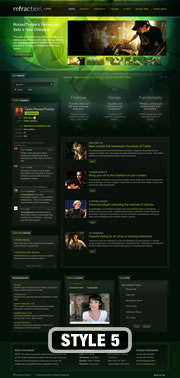
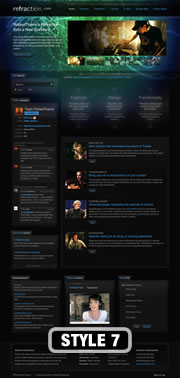
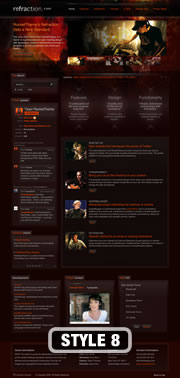
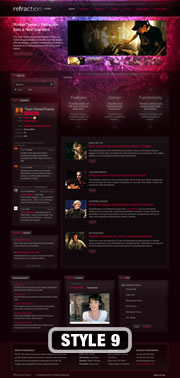
Preset Styles
- Detalles
- Categoría de nivel principal o raíz: Contenidos


Module Positions
- Detalles
- Categoría de nivel principal o raíz: Contenidos
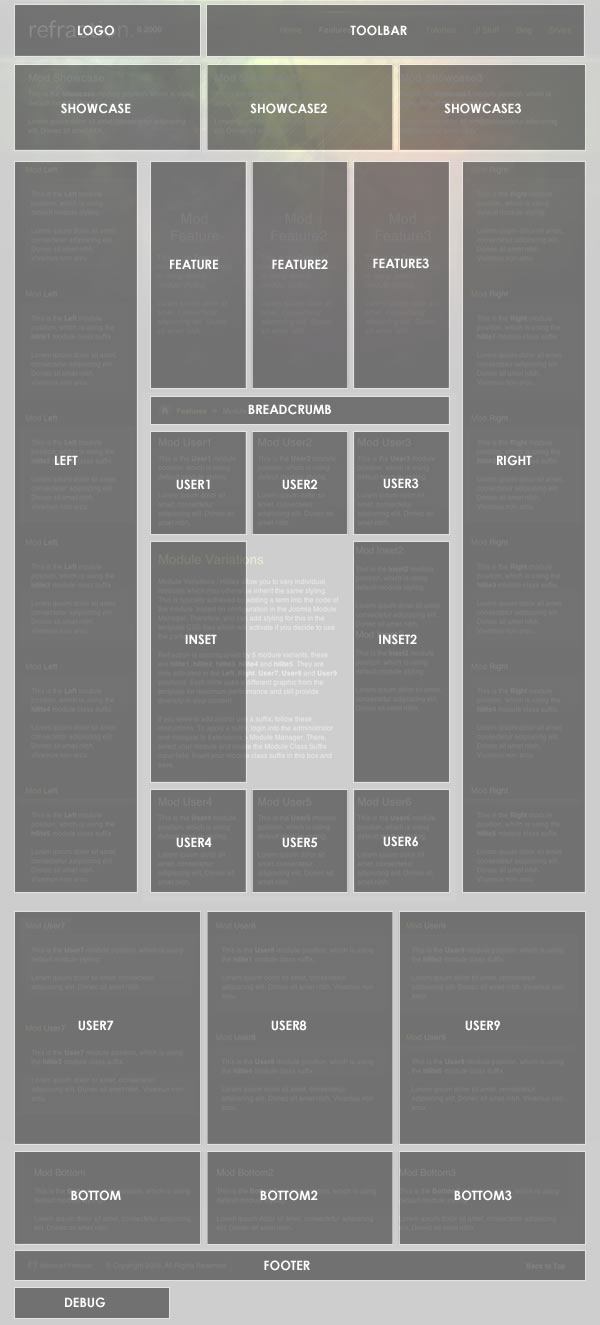
Refraction has been constructed with an assortment of 28 module positions allowing for versatility and flexibility. These module positions are fully collapsible meaning that if there are no modules published in a particular area, that module area will not be shown.
Several of these positions may not appear to be positions, such as the Logo, Footer and Toolbar. However, by publishing modules to see positions, the elements are automatically disabled and replaced by your module content.
A dynamic position is the Showcase-Panel position, which is activated on the demo via the top level menu item Present Styles. This is filled by the Variation Chooser but any module can be placed here. Similar, the trigger does not have to be a link, it can be anything that you specific in the Panel Trigger setting in the template parameters. For example, if you had a button element: <button type="button" class="panel-trigger">Click Me!</button>, you would use the following value in the Panel Trigger setting: button.panel-trigger. That is because the value uses CSS mechanisms to operate. Therefore, any CSS string that identifies a web element can be used in parameter.
Color Chooser
- Detalles
- Categoría de nivel principal o raíz: Contenidos
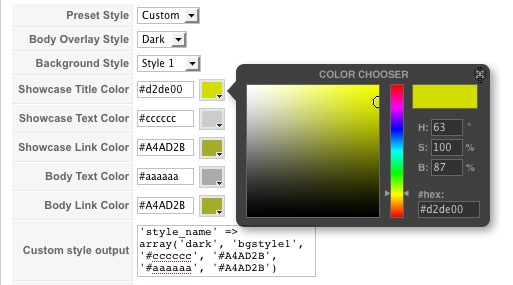
The options are as follows, and the areas that they control are indicative in their name:-
- Body Overlay Style
- Background Style
- Showcase Title
- Showcase Text Colour
- Showcase Link Colour
- Body Text Colour
- Body Link Colour
Creating your own presets
With Refraction, we provide a series of preset configurations for the color chooser which you and your visitors can select from. However, if you wish to set or change these yourself, the process is extremely simple.
- Login into the Joomla Administrator
- Go to Extensions > Template Manager > rt_refraction_j15
- Set Preset Styles to Custom
- Now, choose all the options you wish from the several options available
- Hit the Custom Styles button in the Button menu, located in the upper right of the template manager
- This will output all the values into the Custom Style Output box, situated below the options. Copy the outputted code from this box
- Open the file styles.php which is located within the /templates/rt_refraction_j15/ directory
- Locate the following code block.
$stylesList = array( 'style1' => array('dark', 'bgstyle1', '#d2de00', '#dddddd', '#A4AD2B', '#aaaaaa', "#A4AD2B"), 'style2' => array('light', 'bgstyle2', '#000000', '#000000', '#000000', '#4D4D4D', "#7e8407"), 'style3' => array('dark', 'bgstyle3', '#ffffff', '#dddddd', '#21bddf', '#999999', "#21bddf"), 'style4' => array('dark', 'bgstyle4', '#f8d000', '#dddddd', '#F3D104', '#aaaaaa', "#F3D104"), 'style5' => array('dark', 'bgstyle5', '#ffffff', '#ffffff', '#9ac615', '#aaaaaa', "#9ac615"), 'style6' => array('dark', 'bgstyle6', '#ffa715', '#dddddd', '#FFB028', '#aaaaaa', "#FFB028"), 'style7' => array('dark', 'bgstyle7', '#ffffff', '#dddddd', '#3c9be6', '#999999', "#3c9be6"), 'style8' => array('dark', 'bgstyle8', '#fe8529', '#dddddd', '#e13f00', '#aaaaaa', "#e13f00"), 'style9' => array('dark', 'bgstyle9', '#ffffff', '#dddddd', '#e6003d', '#aaaaaa', "#e6003d"), 'style10' => array('light', 'bgstyle10', '#000000', '#333333', '#0087aa', '#444444', "#0087aa") ); - Edit that block to meet your needs, either by remove the code between $stylesList = array( and ); and copying in the code directly, or adding the new style code to the list of current styles or whatever method you prefer.
[span class=alert]Ensure that you only edit the code in between $stylesList = array( and ); and ensure it is the right format otherwise you will receive errors[/span] - Save, and upload the file to your site.